

Hello programmers, As given in the title we are going to take Screenshot on pc using python on windows OS. There are several methods or techniques to perform this action. We are going to see some of them. So before starting this we should install required python libraries.
(Note: As we are going to use different techniques we will install different libraries according to program requirements.)
So here we start with very first technique. So requirement for first technique is
- Taking screenshot using pyautogui
Requirement:
- Python (version 2.7)
- pyautogui
you can install the library pyautogui using following command
pip install pyautogui
After installing library we could move to our code. Just use following code or you can download the code by pressing download option given on this post.
Code:
import pyautogui

pic= pyautogui.screenshot()

pic.save('screenshot_name.png')            //Here you can give any name instead of screenshot_name

pic.show()
after executing above code screen shot will be saved in your current working directory as mine is
saved in mine current directory.
2 . Taking Screenshot using PyScreenShot
Python have also provided its own library for taking screenshot and that is pyscreenshot. So for our next code we need following requirements
Requirements:
- Python(any 2 or 3 version)
- Pyscreenshot
You can install the library using following command
pip install pyscreenshot
After installing library we could move to our code.
(Note: Following code file is also provided in download section)
Code:
import pyscreenshot as ImageGrab
if __name__  ==  ’__main__’ :
	im = ImageGrab.grab()
	im.save(‘screenshot_name.png’)
	im.show()
After executing above code screen shot will be saved in your current working directory as given below sample
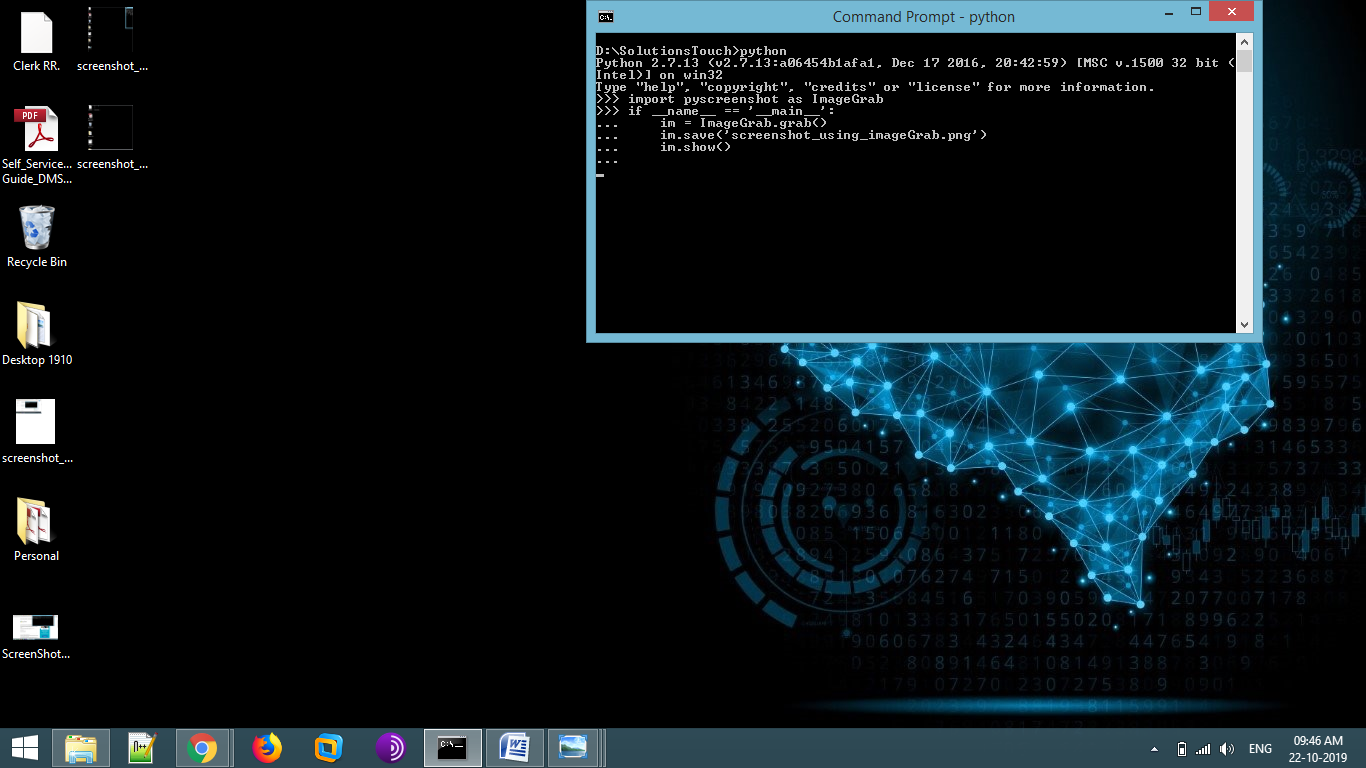
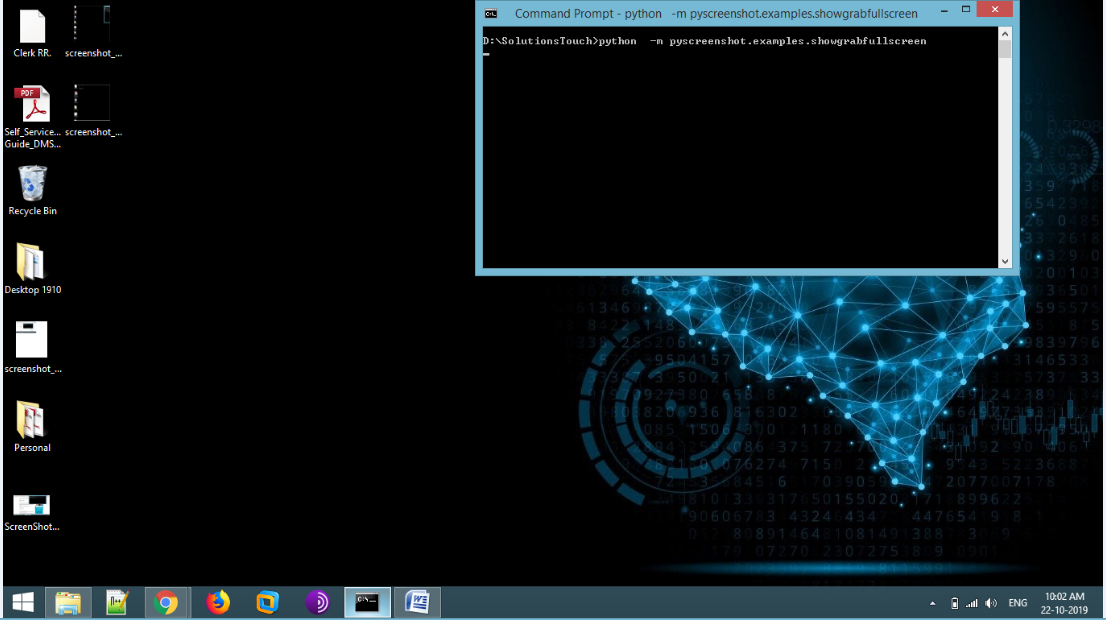
There are several methods provided in above library (i.e. pyscreenshot). As you can grab whole window by entering one following command in your terminal or CMD
python -m pyscreenshot.examples.showgrabfullscreenAnd result will be
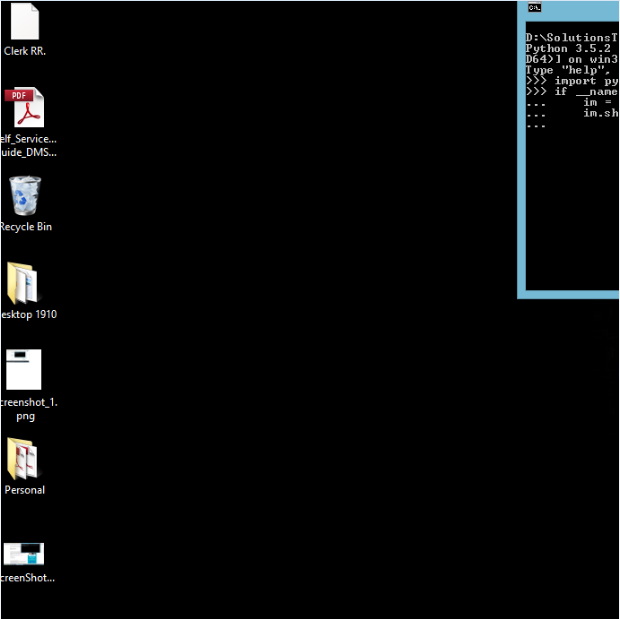
There is one more method. In this you can grab particular area of window instead of full window. Code is given below
Code:
import  pyscreenshot as ImageGrab
if __name__ ==  ‘__main__’:
	im = ImageGrab.grab(bbox=(10,10,700,700))   //x1,y1,x2,y2 (pixel position)
	im.show()
Executing above code will result like this.
You can also get same output using command providing to terminal as given below image.
python -m pyscreenshot.examples.showgrabbox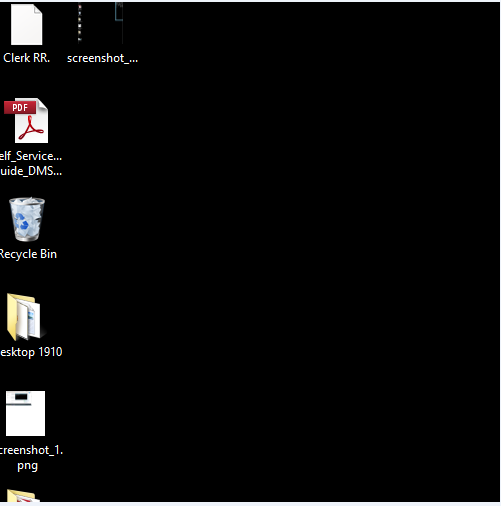
As shown above you can grab screen or take Screenshot using different methods. Try above codes with your own and if any error occurs, feel free to comment below.
Happy Coding...